Hosting a Kali Linux virtual machine using KVM on a Ubuntu 20.10 box
While a lot of people recommend running Kali Linux as a virtual machine (VM) via Oracle's VirtualBox or VMware's Workstation, I had a little trouble getting those set up in my environment. Instead, I opted to use Kernel-based Virtual Machine (KVM) as hypervisor. Here, I describe the steps that I took to get an image of Kali Linux up and running on a Ubuntu 20.10 box.
Definitions
- A virtual machine (VM) is basically a computer that's running inside of another computer. The physical computer that creates and runs the VM(s) is called the host machine, while the VMs themselves are the guests. VMs allow us to run completely different types or versions of operating systems from our host machine. This can be really useful if we want to test software on different operating systems, or run potentially malicious software in a safe, sandboxed environment.
- A hypervisor (or virtual machine monitor, but let's be honest, hypervisor sounds way cooler) is software that creates and manages VMs. Type-1 hypervisors run directly on the host computer's hardware, while type-2 hypervisors run on top of the host's operating system. VirtualBox and VMware Workstation are examples of popular type-2 hypervisors.
- Kernel-based Virtual Machine is open-source software that is built into the Linux kernel. It allows Linux computers to become hypervisors that create and run virtual machines. If you have a Linux box, you can use KVM to run virtual machines of Windows or other Linux images. It appears as though KVM could be considered a type-1 or a type-2 hypervisor, depending on who you ask. (Imagine someone saying "technically, ...".)
- Kali Linux is a distribution of Linux built for penetration testing and ethical hacking. It appears to be an industry-standard tool for security professionals. It includes several tools used for information gathering, vulnerability analysis, wireless attacks, networking and other areas.
Prerequisites
Hardware virtualization support
We first need to confirm that our hardware supports virtualization. If you have an AMD processor, the virtualization extension you want to look for is AMD-V (short for AMD Virtualization; it used to be called AMD Secure Virtual Machine). If you have an Intel processor, you want to look for Intel VT-x (Intel virtualization technology on the x86 platform).
The CPU flag for AMD-V is svm, while for VT-x it is vmx. If you run sudo cat /proc/cpuinfo, it'll print out a bunch of information
about your CPU (with one section for each core), and you can look in the "flags" section of that for the appropriate flag. A better way
is probably to use this command that Linuxize suggests:
grep -Eoc '(vmx|svm)' /proc/cpuinfoIt will return an integer corresponding to the number of CPU cores that support virtualization. If that number is greater than 0, great! It's quite possible that you'll need to go into your BIOS to enable the virtualization, however. This shouldn't be too tricky—it'll be buried somewhere in the advanced CPU options, probably.
Kali Linux ISO
Download an appropriate Kali Linux image from their downloads page. I used the 64-bit Live image.
Once you've downloaded it, it's a good idea to verify that the the SHA-256 checksum is correct. Navigate to the directory where
you downloaded your image (probably ~/Downloads), and run the sha256sum command on the filename (make sure that the filename is
correct). You can then pipe it to a grep that looks for the exact checksum that you copy and paste from the downloads website. For example:
sha256sum kali-linux-2020.4-live-amd64.iso | grep 4d764a2ba67f41495c17247184d24b7f9ac9a7c57415bbbed663402aec78952b
If the checksums match, it'll print the output. If you don't see anything, then they don't match, so try to download the file again because it may be corrupted (hopefully it's nothing more malicious than that...).
Installing KVM and helpers
To be honest, the KVM documentation is pretty sparse, and the tutorials I've found seem not to always agree on the necessary packages to install. Nevertheless, this is what worked for me:
sudo apt install qemu-kvm bridge-utils virt-manager libvirt-daemon-system
-
qemu-kvmprovides the QEMU emulation for KVM; -
bridge-utilsis used to configure ethernet bridges; -
virt-manager(or Virtual Machine Manager) is a GUI that'll allow us to manage our VM more easily than on the command line; -
libvirt-daemon-systemprovides configuration files for the libvirt daemon. libvirt is an API that allows us to run KVM via Virtual Machine Manager. It'll install the actual libvert daemon as well, in addition to any other dependencies.
We can check that the libvirt daemon is running with the following command:
sudo systemctl is-active libvirtdAdd your user to the libvirt and kvm groups:
sudo usermod -aG libvirt $USER
sudo usermod -aG kvm $USER
Setting up the VM
I had to run virt-manager as sudo, otherwise it wouldn't connect. I'm not sure
whether there are any security implications to this; in any case, you can start the program
with:
sudo virt-managerTo create the Kali Linux VM, click "File", then "New Virtual Machine". Select "Local install media" and click "Forward".
Click "Browse", then "Browse Local", and find the Kali Linux ISO that you downloaded. Uncheck the "Automatically detect from the installation media/source" checkbox; in the text box, type in "generic", and select "Generic default (generic)" from the pop-up. Click "Forward".
Now you can select the memory and CPUs to be assigned to the VM. This of course depends on your hardware, and what you'll be using the VM for. I went with 2048 MB memory and 4 CPUs for some initial testing, then clicked "Forward" again.
I left "Enable storage for this virtual machine" ticked, and a created a 20 GB disk image. Click "Forward".
I left the default name, and left the default network selection: "Virtual network 'default': NAT". Click "Finish", and the VM should be created!
Basic usage
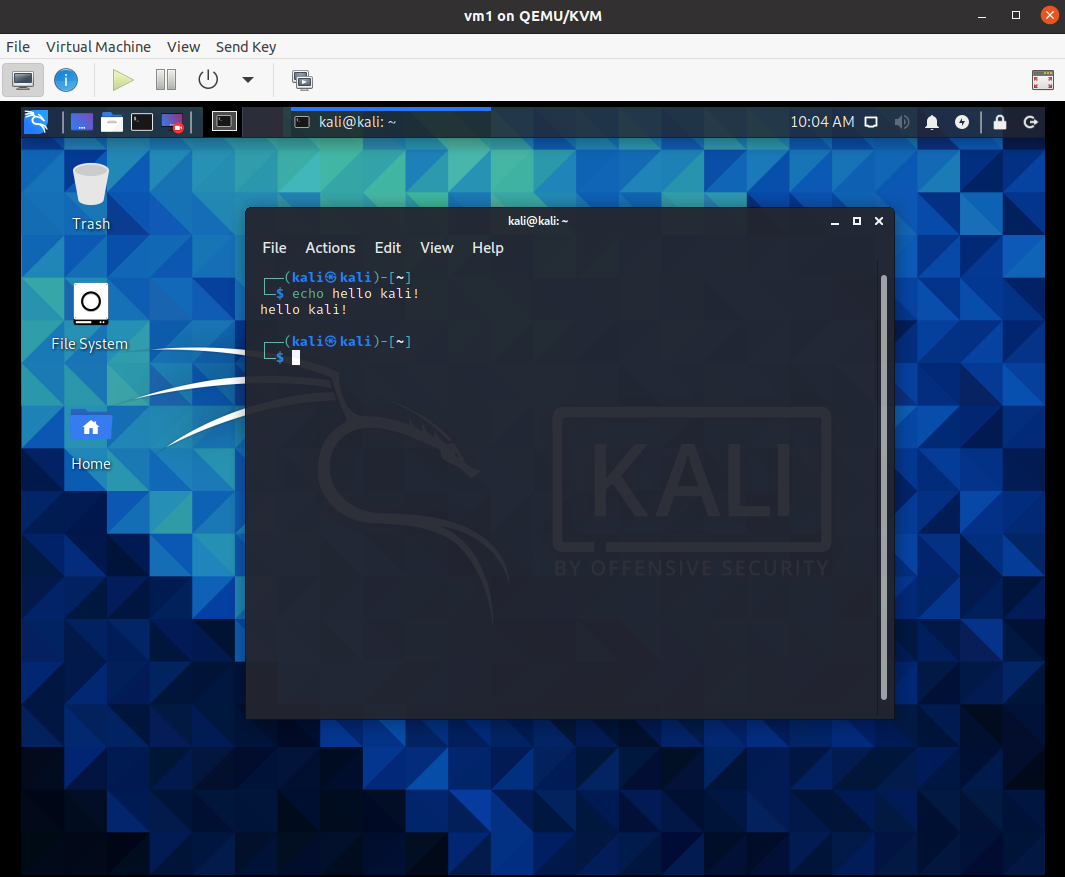
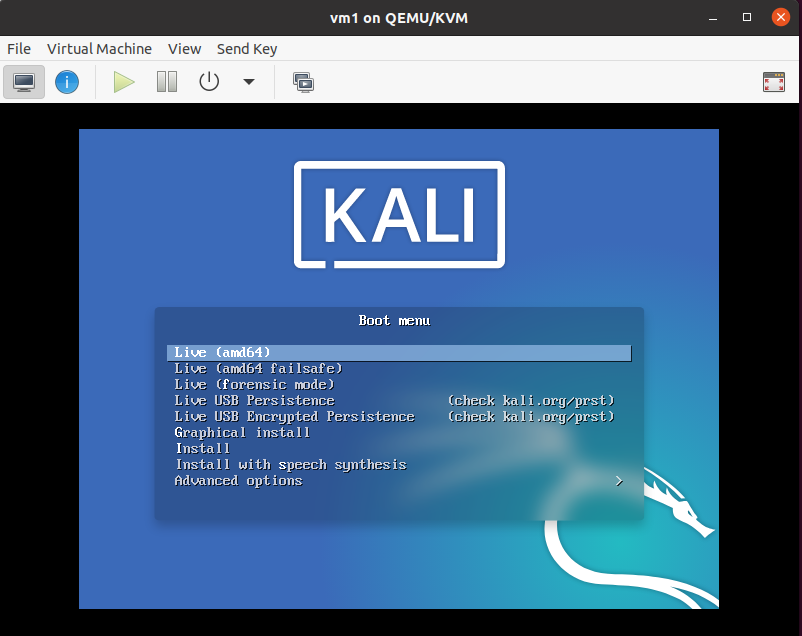
After creating the VM, it should be powered up and opened in a new window on the Kali Linux boot menu. I just selected the default option of "Live (amd64)", and pressed enter. After a bit of processing, the Kali desktop should appear, and you should be good to go!
You'll probably want to close and power off the VM when not in use. To get it back up and running, click on the virtual machine in the manager software, and click the green "Play" button to power it on. Once it's running, click "Open", and it'll open up in a new window.
References
I learned loads from setting this up. The tutorials on Linuxize and HowToGeek were invaluable, and a lot better than what I managed to put together here, so check those out in the first instance. A few other resources are listed below: